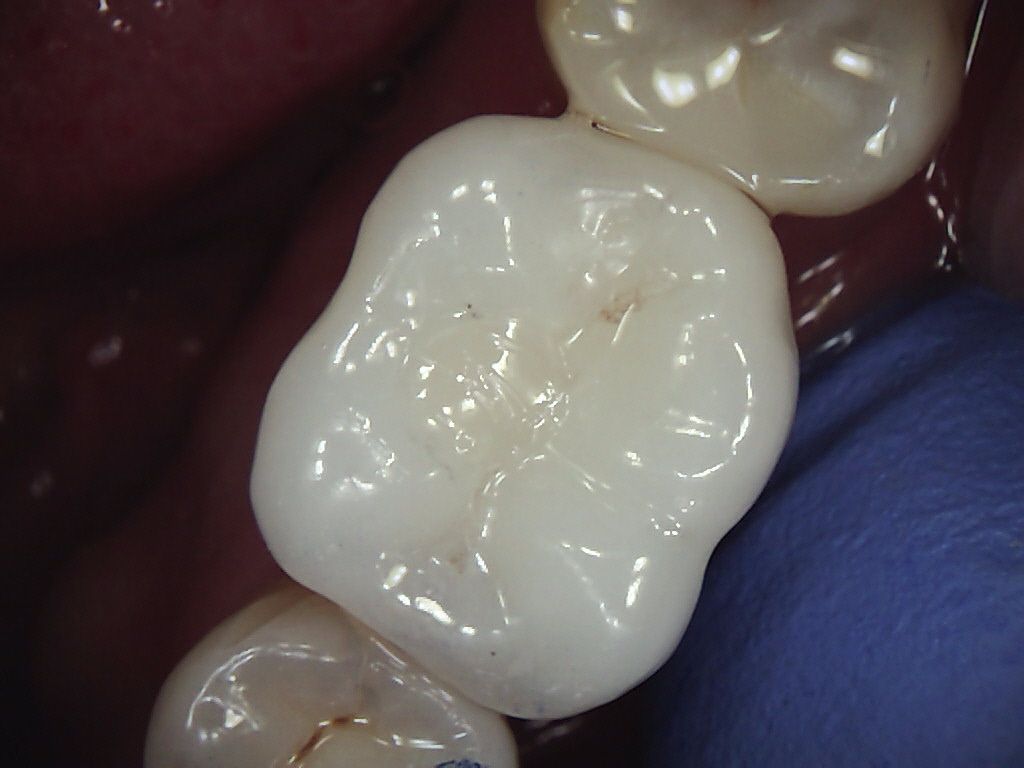
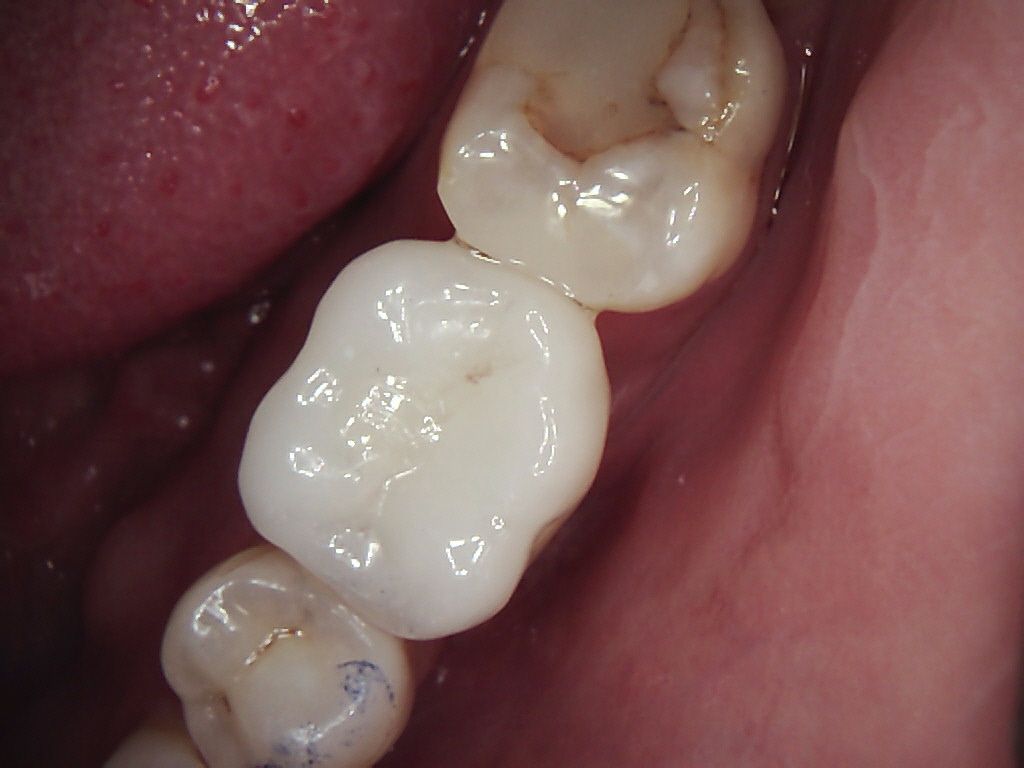
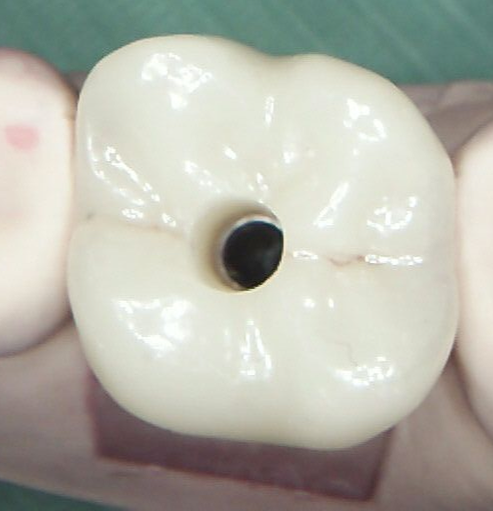
Spot the screw-access
Screw-down restorations: the holy grail of retrievability, the darling of the literature, and—let’s be honest—the bane of aesthetic perfection. But what if I told you the magic trick to make that access hole vanish?
The Magic of Screw-Retained Restorations
We all know screw-down restorations (SDRs) are the gold standard, right? The research keeps nudging us toward them, and for good reason. But let’s not pretend they’re flawless.
Mechanically, SDRs can be more temperamental than cementables. And cosmetically? That access cavity is a nightmare to hide. Cementables, on the other hand, offer a smoother fit appointment, often cost less, and make it easier to nail the aesthetics—assuming you don’t leave a cement buffet in the sulcus.
Still, I’m a die-hard SDR fan. I rarely reach for cementables unless I’m absolutely sure I’ll never need to remove the restoration. Even then, I use Tempbond—and still end up with a hammer in hand and a patient wondering if they’ve wandered into a blacksmith’s forge.
So yes, I screw everything down.
Back in the day, you could complain about screw loosening, fractures, and porcelain chipping around the access channel. But modern connections are robust. If you follow a few key rules, your restorations will behave beautifully.
Rules for Screw-Retained Success
1. Plan the Screw Channel Exit
Think ahead. Avoid placing the screw channel in working-side contacts. It’ll save you from porcelain fractures and premature wear.
2. Use Genuine Compatible Parts
Copyright and patents mean knock-offs don’t fit microscopically. That leads to wear, instability, and the dreaded tulip fracture. If you break the implant itself, good luck recovering.
3. Torque the Torque or Walk the Walk
Ignore engineering advice at your peril. Use a calibrated torque device and know your system’s specs. Screws should be genuine, colour-coded, and catalogued like your life depends on it—because sometimes, it does.
4. Ask for a One-Piece Screw-Down Crown
Keep it simple. Skip the abutment unless absolutely necessary. Fewer margins = fewer bacterial hideouts.
5. Embrace Zirconia
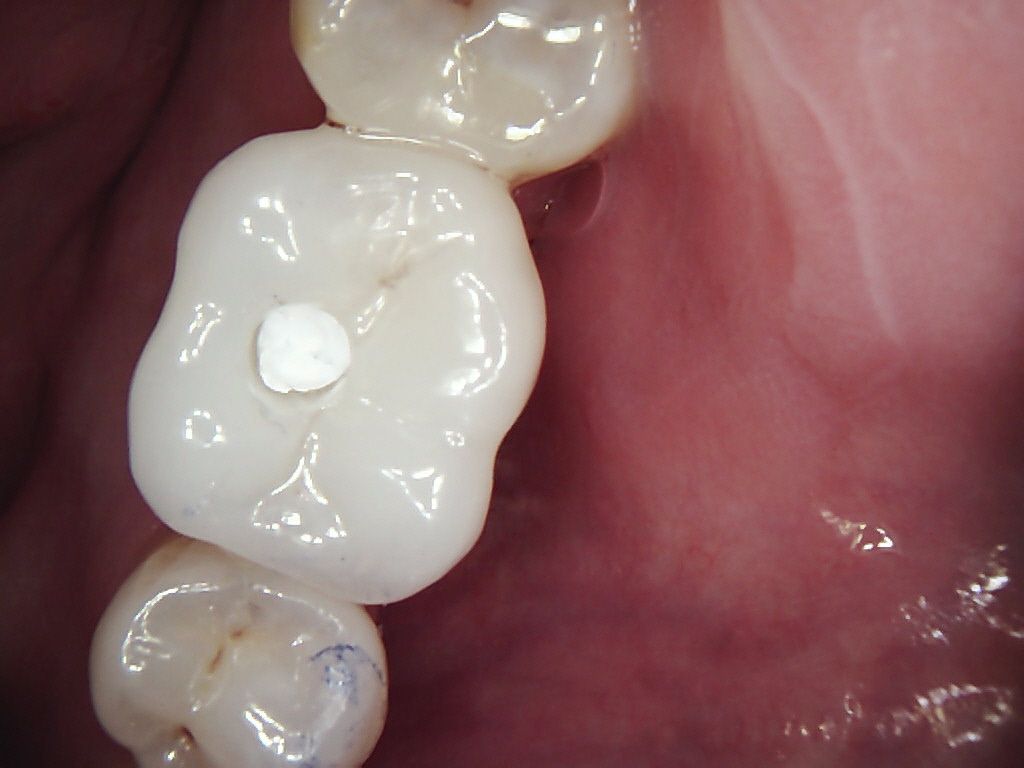
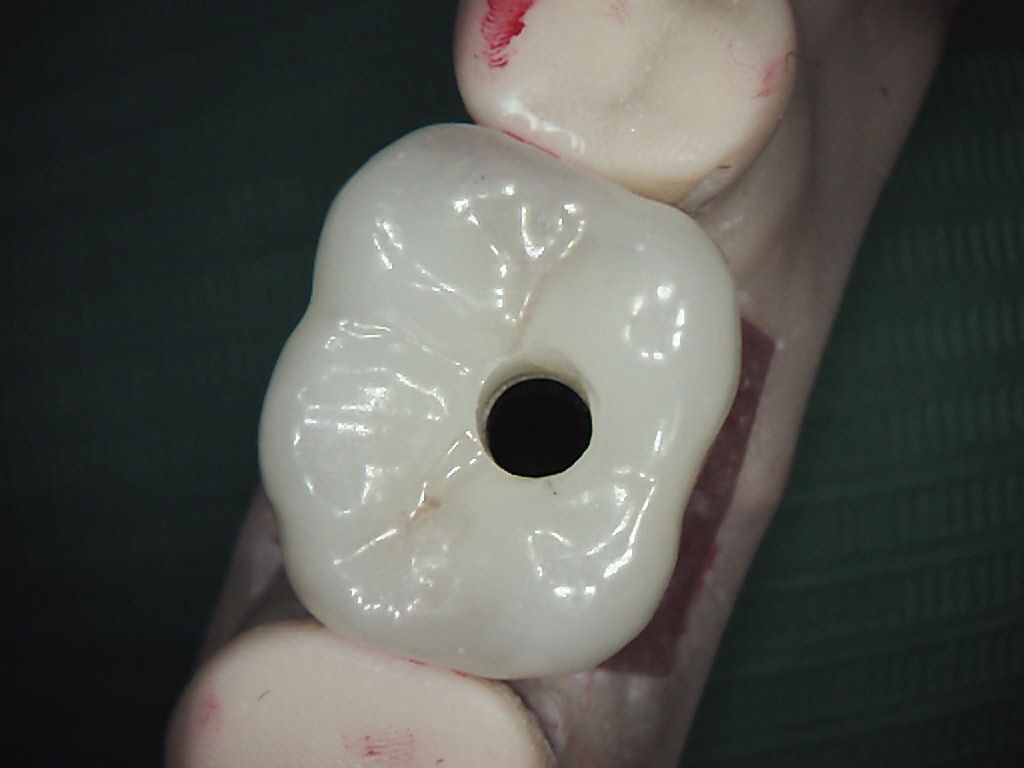
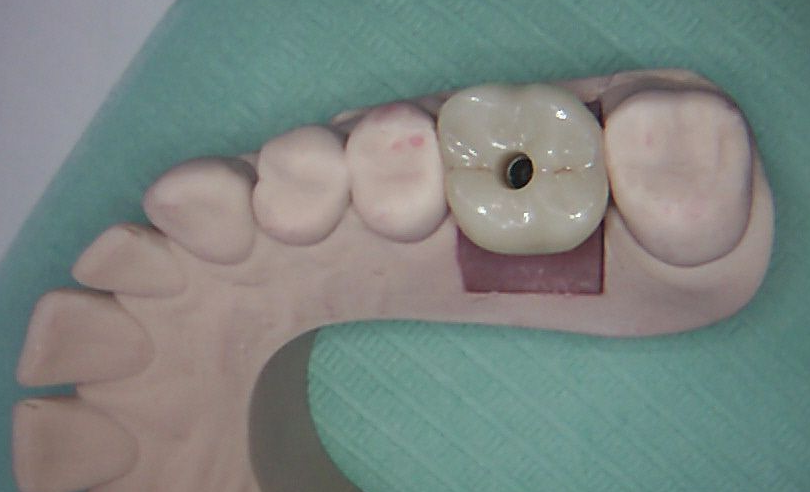
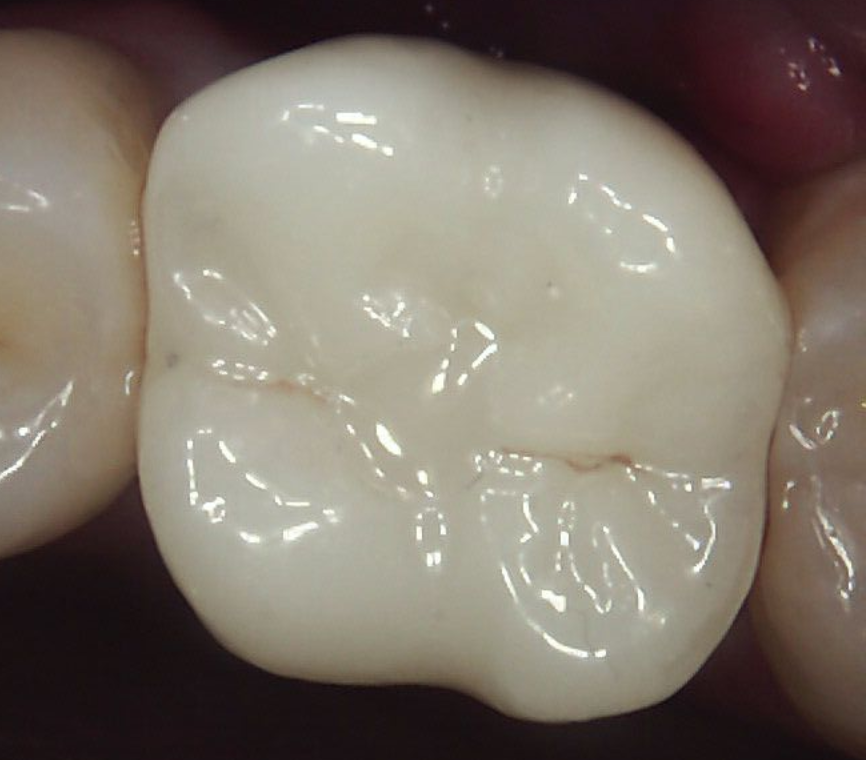
If you haven’t yet, prepare to be impressed. Zirconia offers translucency, strength, and wear resistance. Paired with a variobase (tibase), your lab can mill a pre-drilled block with a long access hole that lets light pass through the occlusal two-thirds. Translation? Even if you botch the shade of the filling material, it still looks natural.
No more hunting for opaque fillers to mask the dark cylinder inside a metal restoration. Yes, the abutment height might make you nervous, but trust the engineers. Zirconia can handle the stress—unlike eMax, which had its share of failures.
Just remember Rule 2: Use Genuine Compatible Parts or prepare for disappointment.
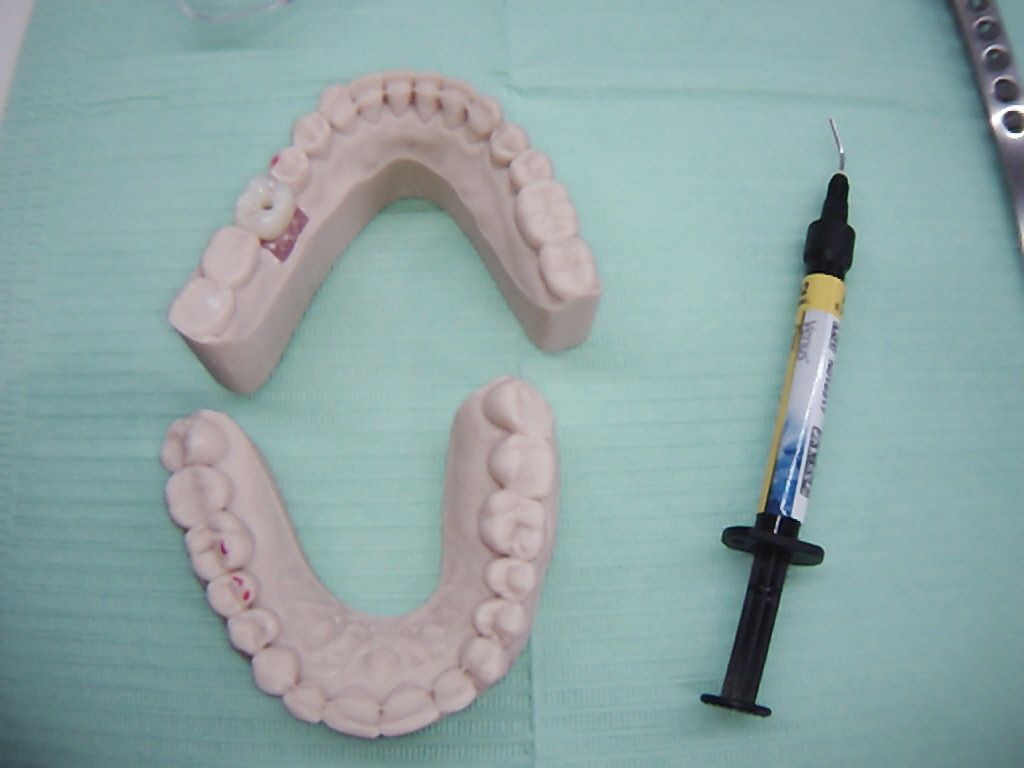
If your lab is forward-thinking, they’ll welcome this approach. It might even streamline their workflow—no need to pour or print models, and you could supply the parts yourself. That’s leverage with your implant supplier and a win for everyone.
Getting the best from your lab takes effort, but that’s a topic of another blog.
ID Blog